Optimizing My Engine’s Light Pass: Lessons from GPU Profiling

Now that my game engine has most of the features that make it usable, I wanted to spend the next couple of months focusing on performance.


I decided to start with the Light Pass. For testing, I loaded a scene with around 214,000 vertices. Not a huge scene, but enough to get meaningful profiler data. After running the profiler, these were the numbers for the Light Pass:

  • GPU Time: 2.53 ms
  • ALU Limiter: 37.65%
  • ALU Utilization: 35.77%
  • Texture Read Limiter: 57.8%
  • Texture Read Utilization: 26.83%
  • MMU Limiter: 32.19%

The biggest limiter was Texture Read, at almost 58%. This means the GPU was spending a lot of time fetching data from textures—likely because they weren’t being cached efficiently. In hindsight, I should have started by tackling the biggest limiter. Instead, I first focused on improving the MMU. Not the best choice, but that’s how you learn.

MMU Limiter means your GPU performance is constrained by memory address lookups and fetches, not arithmetic.

Optimization 1: Buffer Pre-Loading

Buffer pre-loading combines related data into a single buffer so the GPU can fetch it more efficiently, instead of bouncing between multiple buffers. In my original shader, I was sending light data through separate buffers:

constant PointLightUniform *pointLights [[buffer(lightPassPointLightsIndex)]]

constant int *pointLightsCount [[buffer(lightPassPointLightsCountIndex)]]

I restructured this into a single struct that packages light data together. This change reduced the MMU Limiter from 32.19% → 26.43%.

Optimization 2: Use .read() Instead of .sample()

During the Light Pass, I fetch data from multiple G-buffer textures such as Position, Normal, Albedo, and SSAO. Originally, I used .sample(), but this does more work than necessary—it applies filtering and mipmap logic, which adds both memory traffic and math. Switching to .read() (a direct texel fetch) gave a noticeable improvement:

  • Texture Read Limiter: 57.8% → 46.79%
  • Texture Read Utilization: 26.83% → 30.03%

Optimization 3: Reduce G-Buffer Resolution

Next, I reduced the G-Buffer textures from float to half. I expected this to lower bandwidth usage, but to my surprise it made things worse:

  • Texture Read Limiter: 46.79% → 56.9%
  • Texture Read Utilization: 30.03% → 32.31%

Sometimes optimizations backfire, and this was one of those cases.

Optimization 4: Half-Precision Math in Lighting

I then focused on ALU utilization by switching parts of my lighting calculations to use half-precision (half) math. Specifically:

  • Diffuse contribution → half precision
  • Specular contribution → full precision (float)

The results were underwhelming:

  • ALU Limiter: 37.65% → 37.55%
  • ALU Utilization: 35.77% → 35.83%
  • F32 Utilization: 27.86% → 25.12%
  • F16 Utilization: 0% → 1.11%

Half-precision math showed up in the counters, but didn’t change the overall bottleneck.

Final Results

Here’s the overall improvement from all the optimizations:

Before → After

  • GPU Time: 2.53 ms → 2.31 ms (~8.7% faster)
  • Texture Read Limiter: 57.81% → 50.93%
  • MMU Limiter: 32.19% → 23.41%
  • ALU Limiter: 37.65% → 37.55% (flat)
  • F32 Utilization: 27.86% → 25.12%
  • F16 Utilization: 0.00% → 1.11%
  • Integer & Complex Limiter: 14.25% → 8.82%
  • Texture Read Utilization: 26.83% → 31.62%

What the Numbers Say

  • I shaved about 9% off the Light Pass—a real improvement, but not dramatic.
  • The biggest wins came from reducing memory-side pressure (MMU ↓, Texture Read Limiter ↓).
  • ALU stayed flat, which shows the pass is still memory/texture-bound, not math-bound.
  • Half-precision math registered, but didn’t help much since math wasn’t the bottleneck.
  • Removing unnecessary integer/complex math improved things locally, but again, the frame was dominated by texture fetch bandwidth.

Takeaway

Optimizations don’t always yield big wins, but each attempt brings clarity. In this case, the profiler clearly shows that the Light Pass is memory/texture-bound. My next steps will focus directly on reducing texture fetch cost, rather than trimming ALU math.

Thanks for reading.

How SSAO Instantly Improved My Engine’s Visuals

In this video, you’ll see:

  • Before/after comparisons of SSAO in action
  • A quick explanation of how SSAO works
  • Why it’s worth adding to your renderer
  • How I integrated it into my lighting pipeline


If you're building your own engine or renderer, or just want to level up your graphics knowledge, this one's for you.

Enjoy.

Progress, Not Perfection: How I Work on My Game Engine Daily

I took several months off from Youtube to focus entirely on improving the engine's renderer, and it has paid off.


Through sheer work and pushing myself everyday, I have managed to add several features to the renderer such as:

  • Multiple light types: Spot and Area lights
  • Gizmo tools to translate, rotate and scale
  • Post-processing shaders such as: Depth of field, Chromatic Aberration, Bloom, Color Grading, White Balance, Vignette effects.
  • Gizmo tools to manipulate light meshes
  • Improved Editor's user experience

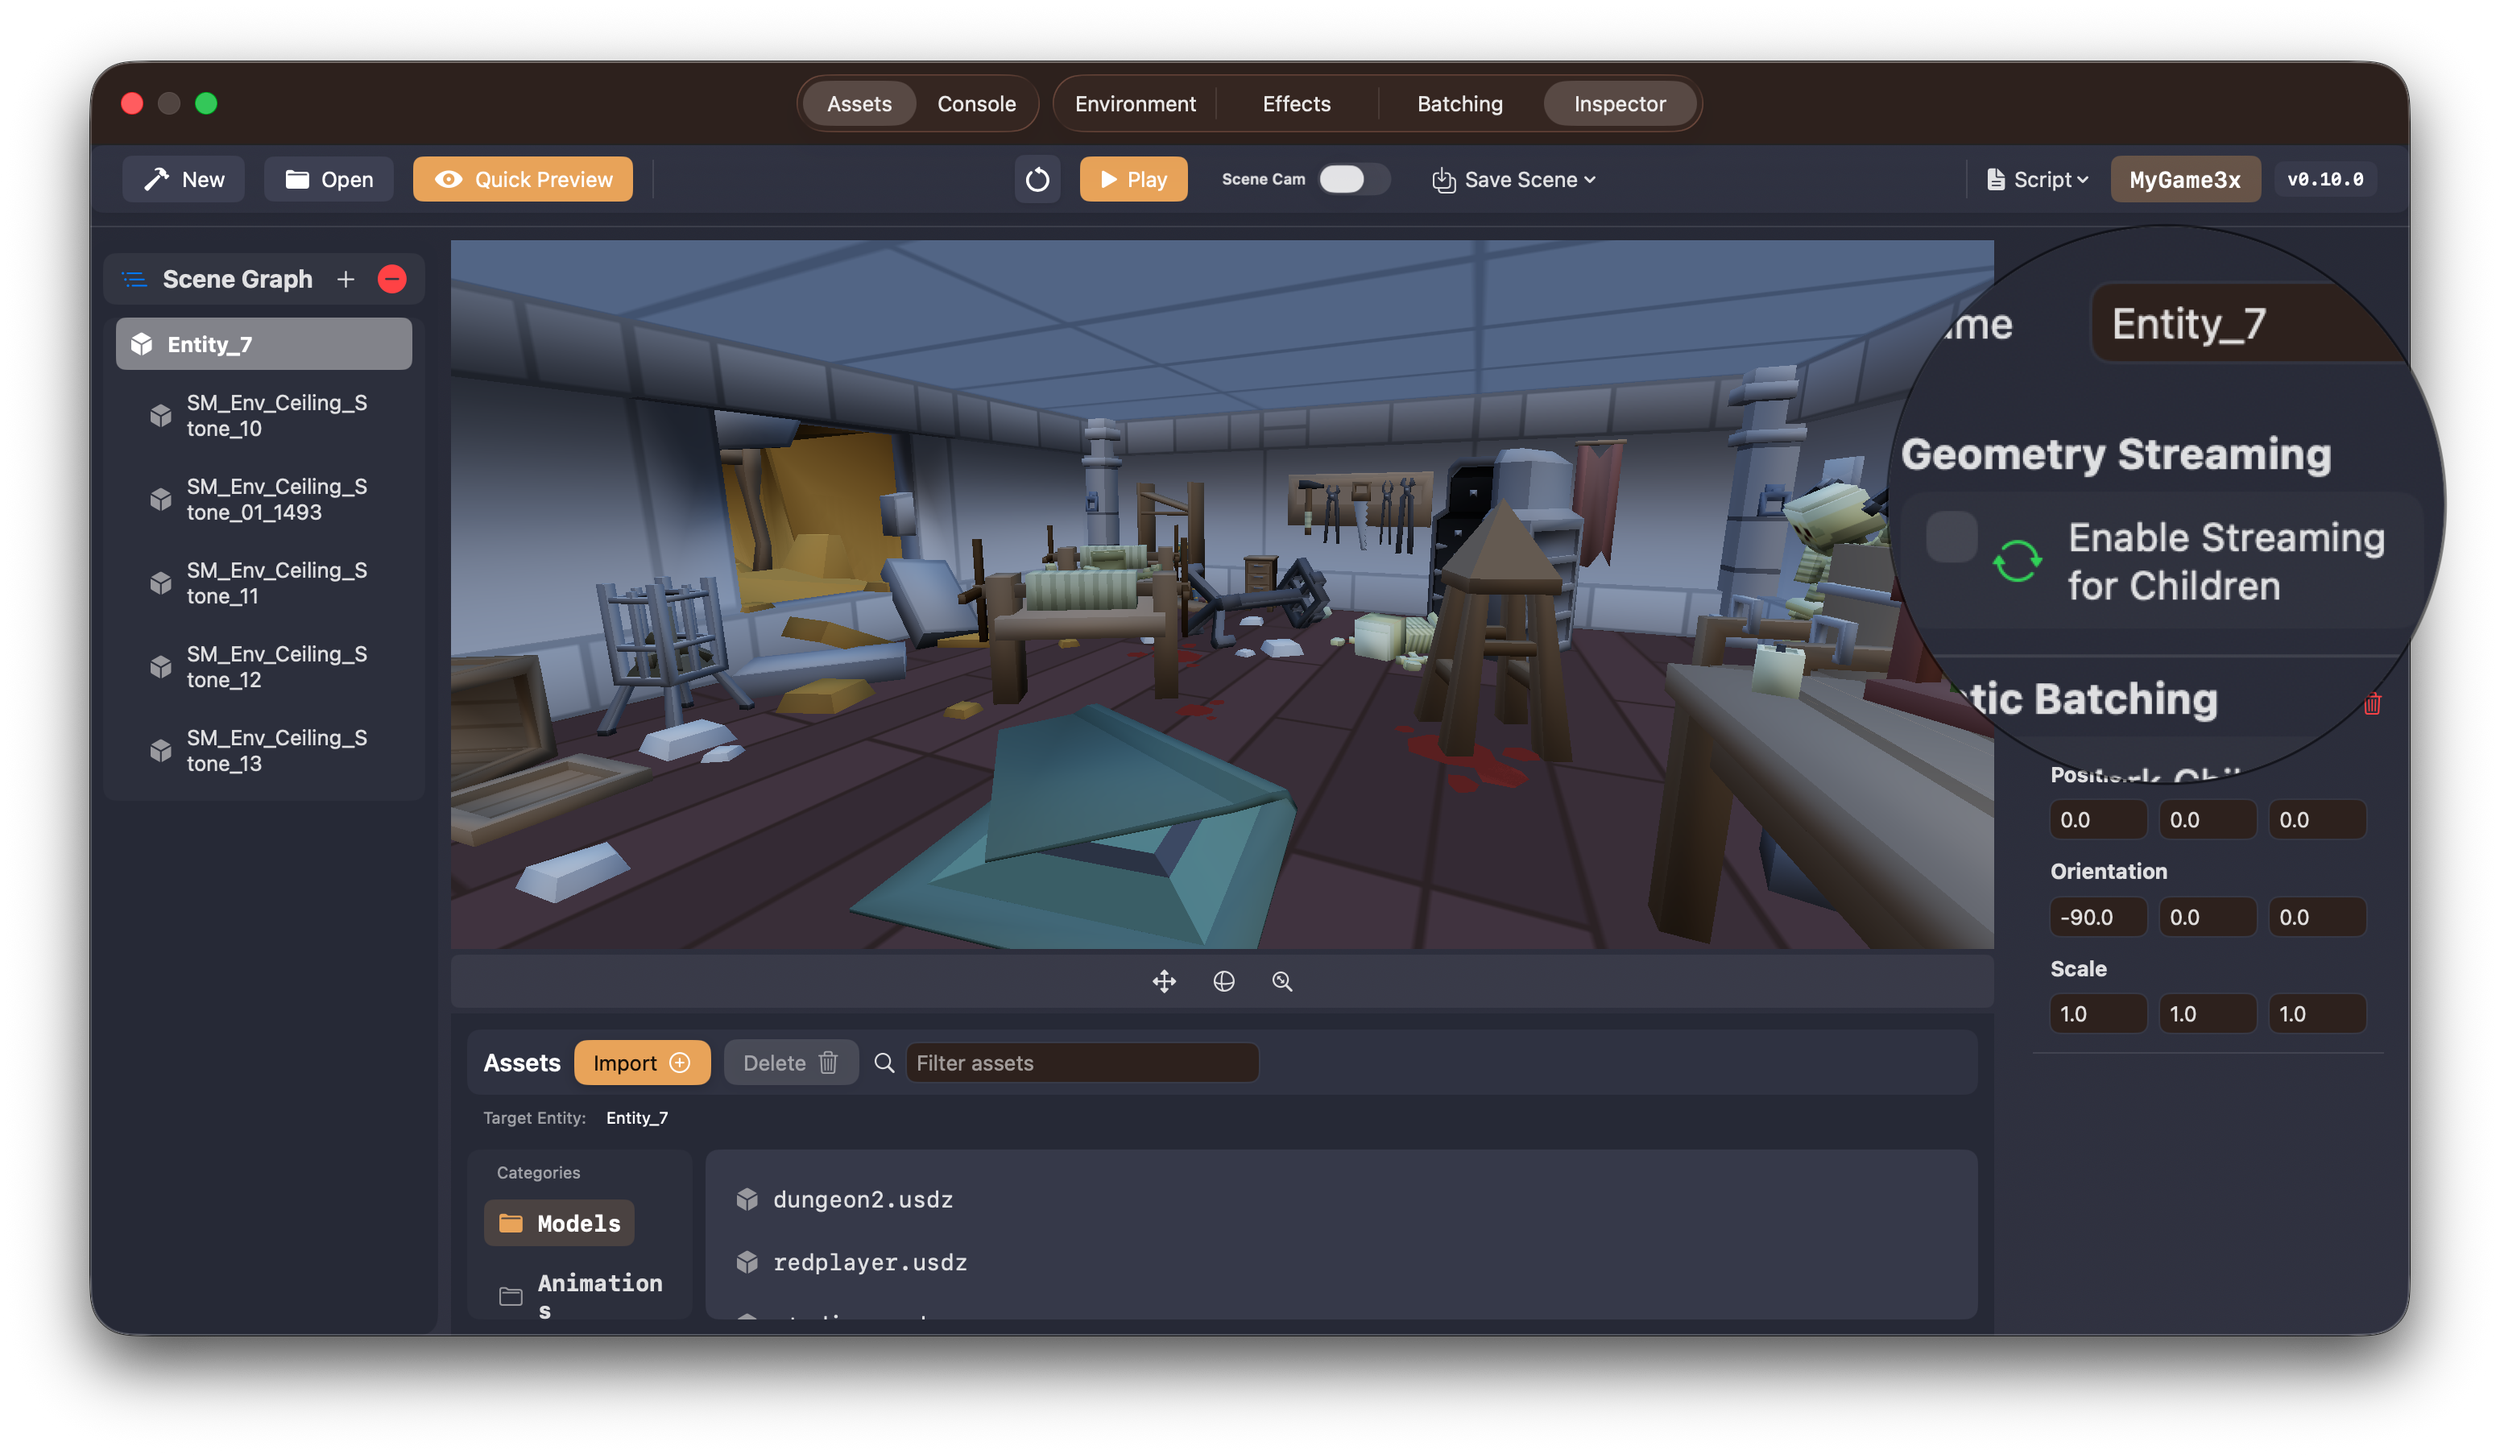
Overall, the renderer feels more complete. While setting up your scene, you can manipulate the position, orientation and scale of each model through the use Gizmo tools. If curious, you can get a quick look at the different PBR textures attached to your model, and if desired, you can update them as well.
If desired, you can add any of the four types of lights into your scene: Directional, Point, Spot and Area light. And you can modify their direction by simply dragging the gizmo tool.

Once your scene is ready, you can add several Post-processing effects as mentioned above. Each effect's properties can be manipulated through the editor and you get visual feedback of the effect.

I feel very proud of the stage of the renderer. I fixed several bugs in the renderer and while fixing each bug; I learned a lot more than I expected. However, working on the renderer daily was hard. Between my full-time job and my beautiful family, I was able to spare an hour or so on the renderer. Every day, I had to force myself to wake up before my kids did, so I can focus on getting some work done, even when my energy level was close to zero. Somehow, I managed to get the renderer to its current state, and it is something I feel proud of.

There are several issues with the Renderer and that is OK, because everyday I wake up with the idea that I will make the engine a bit better than it was the day before, and I'm convinced that this mindset will take the engine to the next level.

I Built An Editor For This One Feature!!!

After two years of rewriting my game engine from scratch using ECS architecture, I finally arrived at a huge milestone: testing whether I can assign gameplay behavior to a character directly through the editor. On the surface, it might sound like a small step — but behind this test is months of work, late nights, countless bugs, and an entire editor system built from scratch.

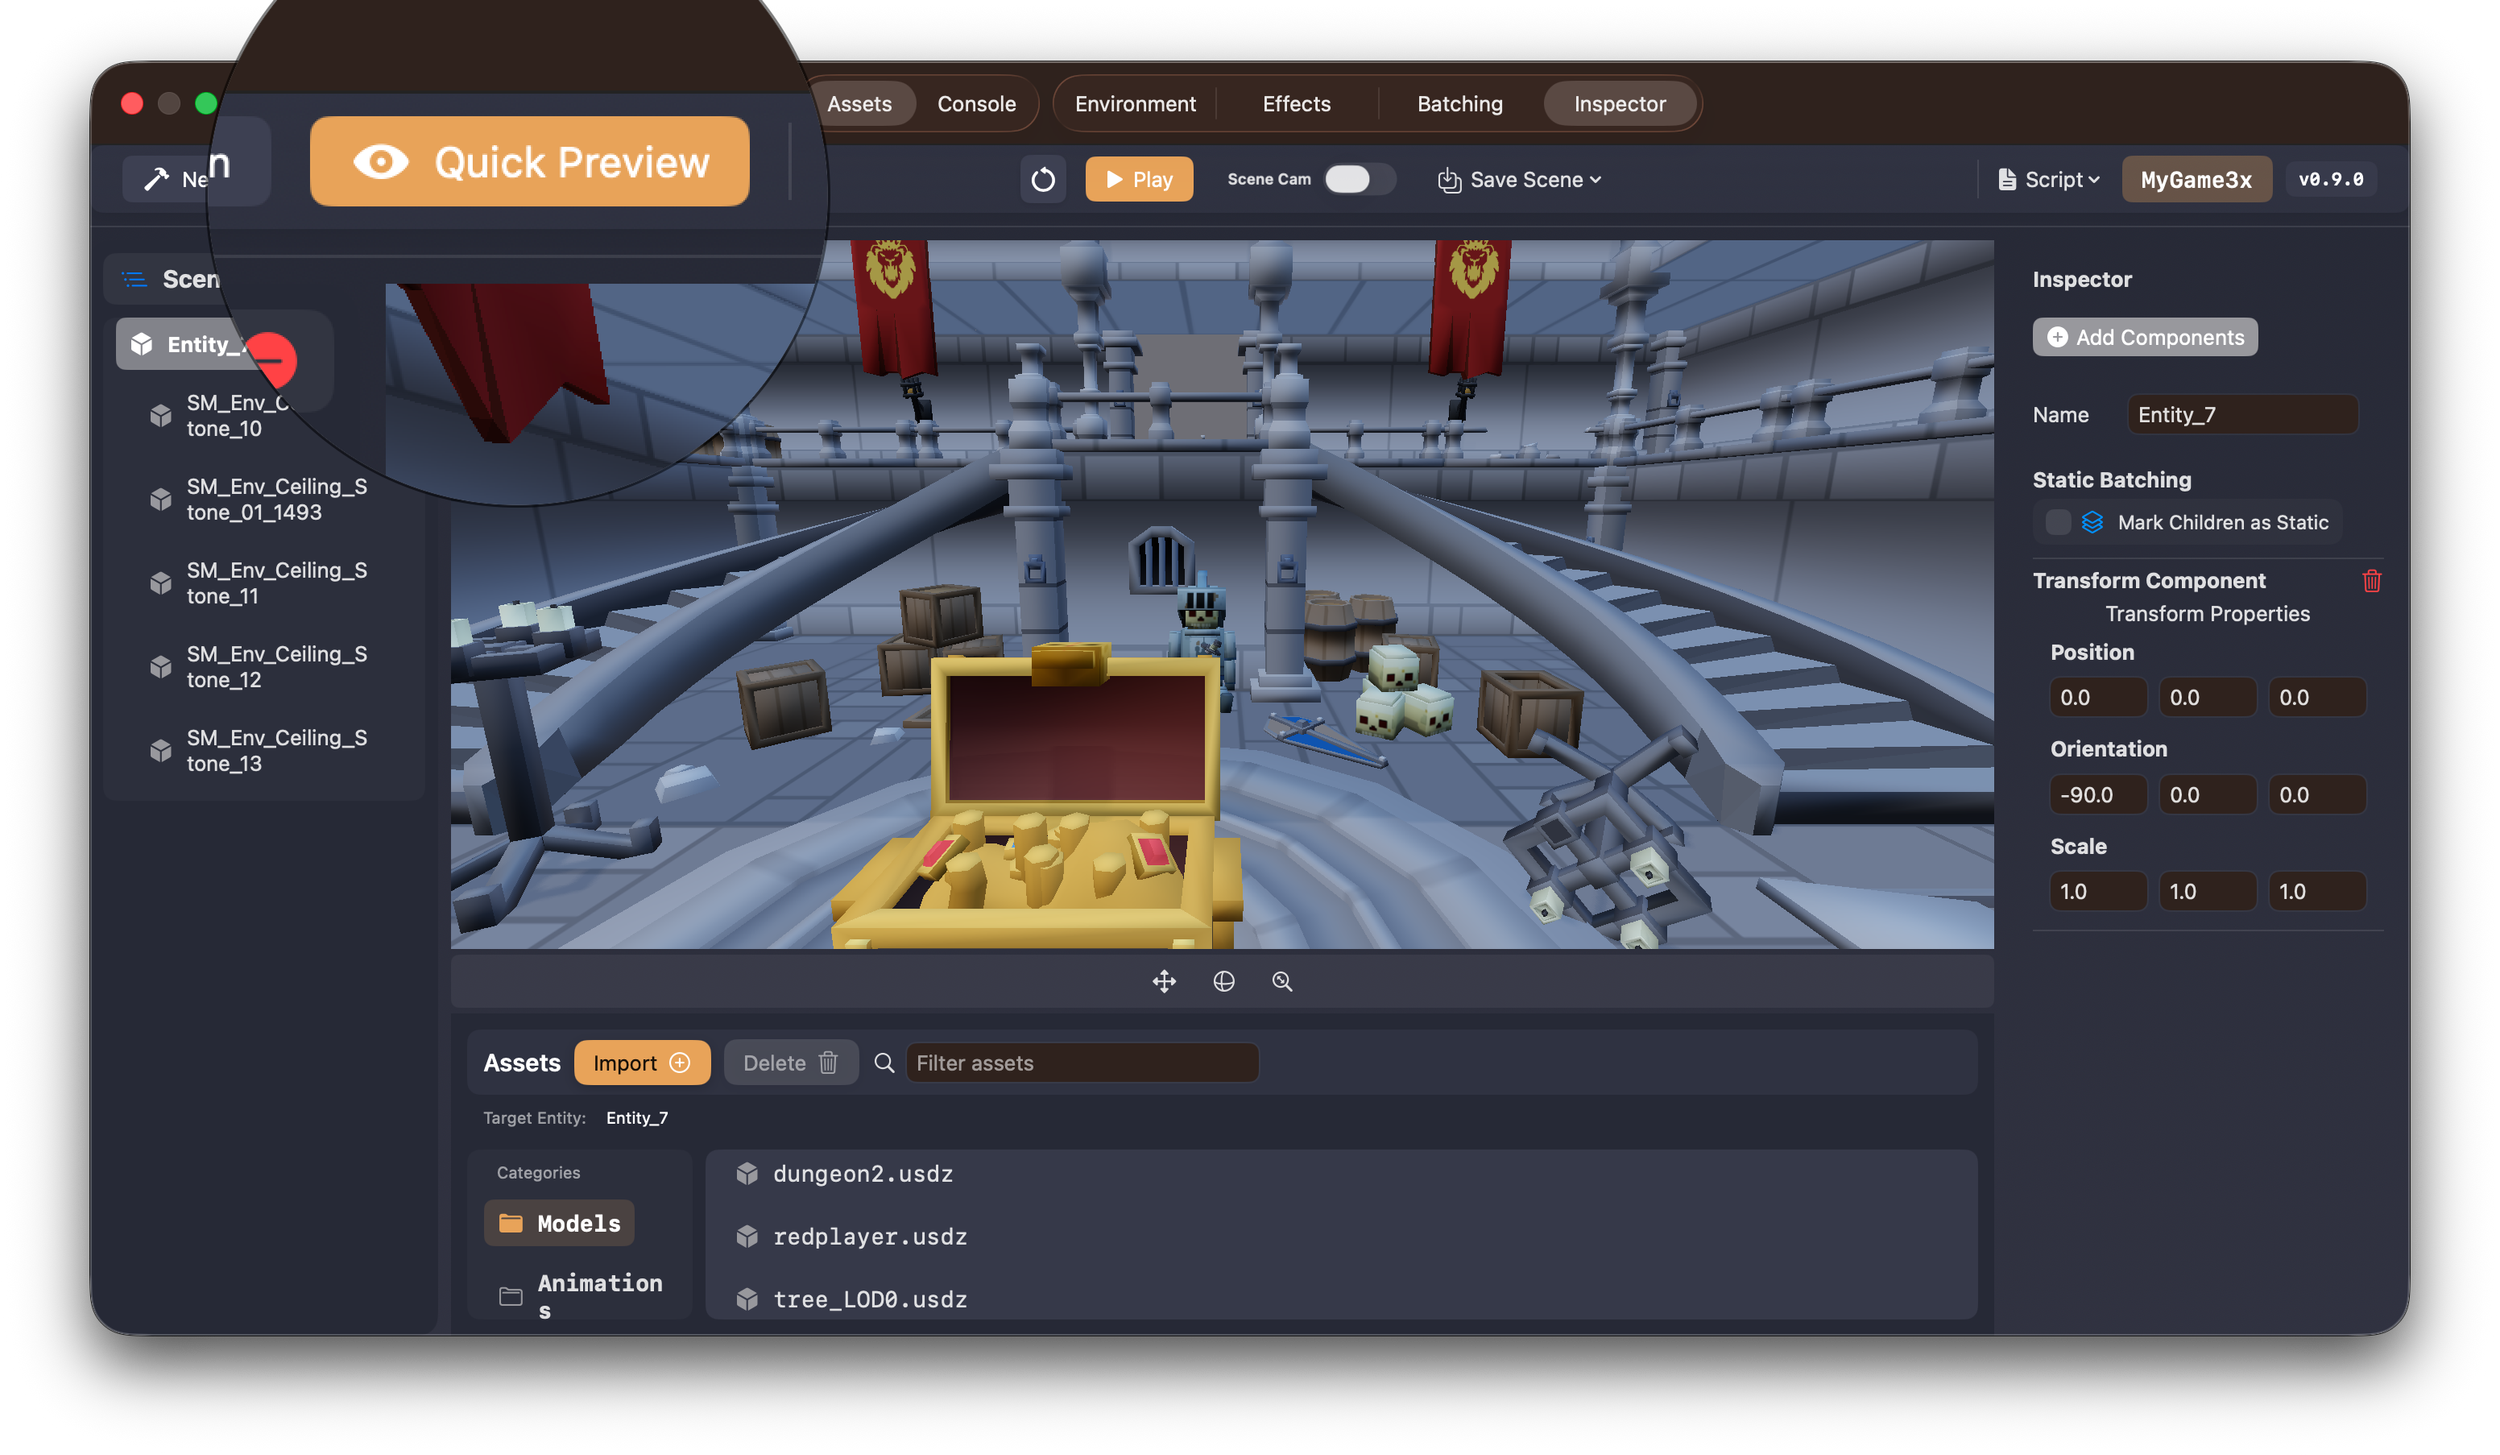
Building the editor was one of the hardest parts of this journey. From the Scenegraph to the Inspector, the Asset Browser to mouse selection (Ray Picker) — every system needed to work together seamlessly. There were moments when I seriously considered scrapping the editor entirely. But deep down, I knew that if I wanted my engine to be flexible and developer-friendly, this feature had to exist.


In this devlog, I walk through the emotional build-up leading to the moment of truth: hitting Play and seeing if everything works. This test isn’t just about a feature — it’s about proving that the foundation I’ve been building can support the kind of dynamic, user-driven workflows I wanted. It's a small feature, but a huge step for my engine.

One Step Closer to a Full Game Engine Editor

In this devlog, I’m taking you through the latest updates to the Untold Engine editor—lighting, cameras, asset browsing, and image-based lighting are now fully integrated into the UI.

No more hacking things in through code—everything can be controlled visually. I’ll show you the problems I ran into, how I solved them, and what the engine looks like now in action.

This update brings the editor one step closer to becoming a fully usable game creation tool—and I’d love to hear your thoughts on where to take it next.


Thanks for watching.